Recent Google updates have elevated the significance of images in SEO. Neglecting proper formatting, tagging, and descriptions is no longer an option if you aim to enhance your page ranking. Remember, your content relies on well-optimized images to thrive. So, let’s delve into how to optimize images for search engine success.
The good news is that image SEO is easy to learn and apply, and once your team adopts good image habits, they will always be there. We’re helping with this handy guide on the top image optimization habits everyone should master, and why these particular practices are so important. Get ready to take some notes!
1. Make Sure Your Images Are Relevant to Your Content
While images are important for your content, choosing random images is not a good idea. Your image should always inform your content. Use images to explain further what you mean or showcase what you are talking about. When in doubt, try to choose images of expressive people involved in activities related to your content – a friendly human face will always feel more “right” to viewers than a basic landscape.
When possible, take images of your products, services, sites, or people-in-action. Infographics, diagrams, and illustrations are also great choices. Online image libraries are stocked with a ton of very specific images that are all well-tagged, so if you post frequently and find it hard to get relevant content, you may want to get a subscription for something like Shutterstock.
Note: Images don’t have to be original but should be as original as possible. Anything you can take or create yourself is great. Don’t steal images from other sites unless they are free to use, and try not to reuse images that have text or watermarks overlaid on them.
2. Determine the Right Dimensions
How big should your image be? What shape should it be? Generally speaking, unless you are providing a very detailed image as part of a guide or large layout, you don’t want images much beyond 2000px for a background image, and 1200px for an image within your content: If they get much larger, the image may take too long to load (more on this in a bit).
When choosing dimensions, stick with the tried-and-true 3:2 ratio, which will be the best choice in most situations: If you take a full screenshot as part of an explanation, it’s all right to play loose with your ratios to get all the information you need.
If you have a great image but it isn’t a 3:2 ratio, this is easy to fix with cropping tools. If you don’t have any cropping tools you already use, free online tools like Pixlr can help you choose aspect ratios and cropping accordingly.

3. Choose the Right Image Format
Image format is important because it dictates how much information the image holds, and how fast it loads. Simple, easily transferable formats are the best. Stay away from formats like PNG, which hold a lot of background information that’s useful for image editing but otherwise unnecessary baggage.
Instead, pick formats like JPG, a universal format ideal for all sorts of online purposes. For even faster image loading, consider using newer formats like WebP, which you can quickly convert to with tools like Squoosh. Above all, ensure your image format is compatible with your customers’ platforms!
4. Use Images that are Optimized for Performance
Why are we focused so much on image loading times for SEO? Because performance is important! Remember, Google is mobile first these days, and performance is incredibly important on mobile devices. You only have a few seconds, at most, to capture attention and keep visitors on your website, and that means everything has to load immediately. For many websites, images take up the bulk of loading times, which is why they need to be as easy to process as possible. Yes, this does directly impact SEO!
We’ve already talked about image size and format, but we also want to mention that images must be responsive. That includes using “srcset” HTML and other methods to help your images automatically shift to be friendly for mobile devices. If you want to learn more about this and create a plan to implement responsive images, Blue Atlas Marketing is happy to help out!
5. Use a Descriptive File Name
Name your images accurately. This helps with SEO – Google pays attention to the file title – and with the organization in your data management. Describe what is happening in the image if possible. An image that says “Windows 10 security settings firewall” is much more helpful than an image that says “Windows 10.”
6. Write SEO-Friendly Alt Text
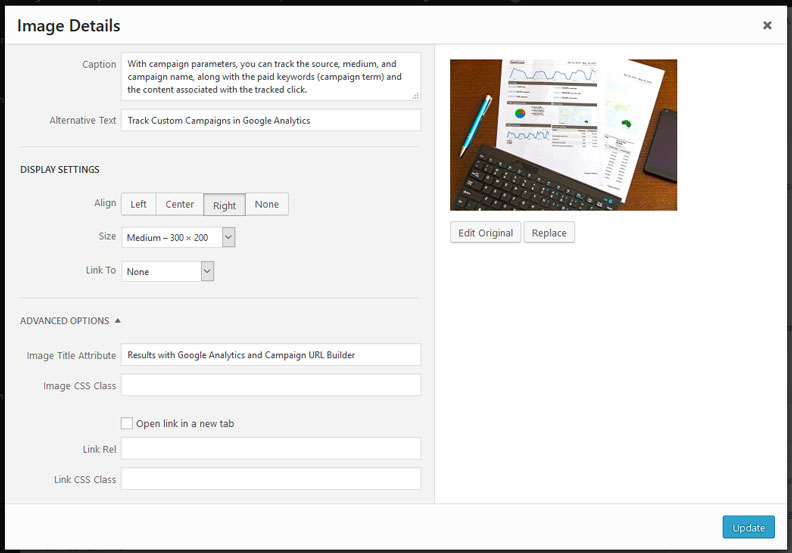
An image’s alt text or alt tag section adds more information: Specifically, the alt text will be displayed if the image can’t be loaded for whatever reason. As a result, Google also pays attention to this text when categorizing images and ranking web pages.
You should always include alt text, but what should it say? As with the title, you should try to describe what is happening in the image, although you can go into a little more detail here. When possible, try to include the keyword for this section of content as well, but only use it once and where it’s applicable.
An additional point: While not exactly alt text, you can also improve your image by adding identifying tags. You can learn more about what tags to use with Google’s quick guide. You can always ask us if you have specific questions about tagging an image!

7. Caption the Image Properly
While alt text shows up when the image isn’t available or images have been turned off, the caption shows up with the image. Captions aren’t always necessary: Look at your image through the eyes of a new visitor: Does it need additional information to explain that’s not included in the content? Then you should add it. Don’t use the caption as an excuse to put your keyword on every image – this can lead to poor SEO results. Instead, use it to add helpful explanations and identifiers when appropriate.

8. Prepare Images for Sharing on Social Media
Images also need to be ready for sharing on social media. Social media is one of the most visual-oriented platforms out there, and the images your posts show will be a key factor in your response. To help, you need to make sure images are social media-friendly.
Social posts will typically show the “featured image” you input in WordPress and other platforms, so your featured image must look great on social media! Fortunately, most factors that make featured images look good on your blog will also benefit posts elsewhere.
First, make sure that the image is well-centered. Social media will crop the image to fit their own post guidelines, and this can be a little random. To avoid cut-off faces or odd appearances, center everything properly in the middle of your featured image. Second, make sure that the image is around 1,200 x 630 pixels, which is an ideal range for most social media (an exception is Pinterest, which has odd square and tall ratios). This will cut down on centering issues, too. Finally, if the image is particularly generic, consider adding your logo in a corner to help with representation.
If this sounds like too much work on top of the optimization you are already doing, consider using the WordPress Plugin Resoc, which helps automatically optimize images for social media.


